Flat field correction (FFC or shading correction) is a method to remove non-uniformities in the image caused by different sensitivities of the pixels and by distortions caused by optics. For XIMEA cameras this correction is applied in the image processing part of the image data flow diagram (it is performed on the host computer thus depending on the image size and CPU performance enabling it may cause increased processing time).
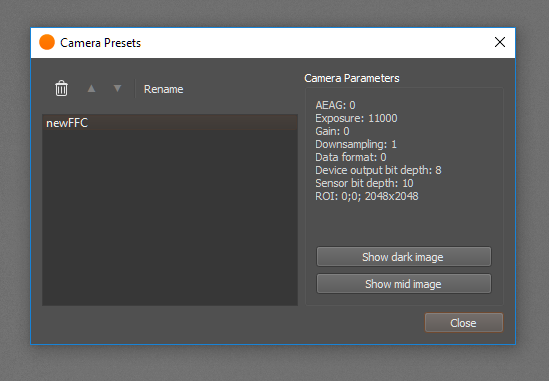
In order for the xiapi to calculate the gain and offset coefficients for each individual pixel, it is necessary to load calibration images (1 dark image and 1 mid-saturated image) before applying FFC in RAW8 or RAW16 format depending on desired output bit depth. To obtain optimal results, camera should be in the same setup (lens, device output bit depth, gain, ROI, downsampling, Zero ROT, light conditions...) during acquisition of calibration images and while using FFC.
Compare of camera output with shading (left) and after FFC enabled (right):

The easiest way to acquire calibration images is by using CamTool guide: 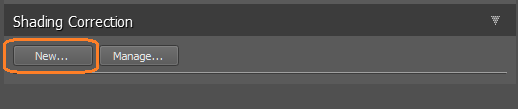
Close camera lens with a cap (make it dark) and click button Capture.
Average the image from set number of frames to suppress dynamic noise. 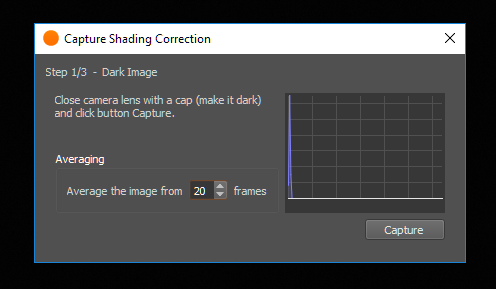
Open camera lens and aim the camera into paper illuminated at 30-70% and click button Capture.
Average the image from set number of frames.
Image should be focused out of captured plane to reduce dust or other details in the scene. 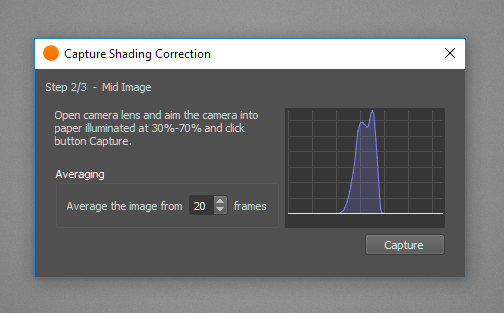
Otherwise, calibration images from CamTool are stored in hidden AppData folder. It can be opened in Windows Run application by command:
%LOCALAPPDATA%\xiCamTool\shading
size - size of the file name - strlen(file_name)size - size of the file name - strlen(file_name)xiSetParamInt(0, XI_PRM_NEW_PROCESS_CHAIN_ENABLE, XI_ON); // MU,MQ,MD camera families
xiOpenDevice(0, &xiH);
// set dependent camera params to same values as during calibration
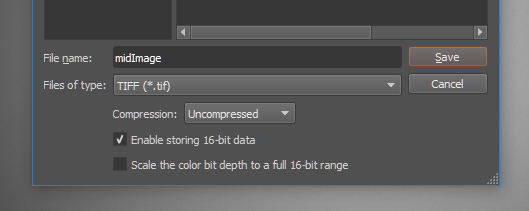
xiSetParamString(xiH, XI_PRM_FFC_FLAT_FIELD_FILE_NAME, "midImage.tif", strlen("midImage.tif"));
xiSetParamString(xiH, XI_PRM_FFC_DARK_FIELD_FILE_NAME, "darkImage.tif", strlen("darkImage.tif"));
xiSetParamInt(xiH, XI_PRM_FFC, 1);
In FFCdemoWithOpenCV.cpp is FFC demonstrated in OpenCV+xiAPI example. FFC might be enabled or disabled by pressing any key while program is running.