The Jetson TX2 module features a powerful GPU that may be used for various image processing tasks.
With XIMEA cameras it is possible to stream data directly to the GPU memory without causing any overhead on the CPU.
In this example, we are going to use OpenCV to implement an image processing pipeline on the GPU of a Jetson TX2 running Linux4Tegra. OpenCV is an open source library containing a wide range of functions for image processing and computer vision. It supports GPU processing using CUDA.
This example demonstrates the use of OpenCV with CUDA support for the demosaicing of RAW bayer images from a XIMEA camera.
For this example, you will need a Jetson TX2 running Linux4Tegra and a XIMEA PCIe or xiC USB3 color camera.
nvcc --version
sudo ldconfig -vDownload the full example source code here!
Only the most important parts are described on this page:
// Define parameters for a static white balance
#define WB_BLUE 2
#define WB_GREEN 1
#define WB_RED 1.3
In this example, we are using static parameters for the white balance.
You can adjust these parameters to fit your lighting situation.
Tip: You can open the camera in CamTool, set Auto or Manual White Balance for a particular scene and record the coefficient for R, G, B (Expert or Guru Visibility level).
int cfa = 0;
int OCVbayer = 0;

// Get type of camera color filter
stat = xiGetParamInt(xiH, XI_PRM_COLOR_FILTER_ARRAY, &cfa);

// Set correct demosaicing type according to camera color filter
switch (cfa) {
   case XI_CFA_BAYER_RGGB: {
        OCVbayer = COLOR_BayerRG2BGR;
        ...
Color Filter Array is obtained from the camera, so the correct demosaicing type can be set afterward.
// Make data from the camera stream to zerocopy memory
stat = xiSetParamInt(xiH, XI_PRM_TRANSPORT_DATA_TARGET,
    XI_TRANSPORT_DATA_TARGET_ZEROCOPY);
This parameter controls to which memory the data from the camera is streamed.
The TX2 uses a unified memory architecture, so CPU and GPU memory are physically the same.
With zerocopy enabled data can be accessed from both the GPU and the CPU.
// Use transport data format (no processing done by the API)
stat = xiSetParamInt(xiH, XI_PRM_IMAGE_DATA_FORMAT, XI_FRM_TRANSPORT_DATA);
Switching to the transport data format will disable all image processing done in xiAPI. We will instead use OpenCV for the demosaicing process.
// Using 8-bit images here
stat = xiSetParamInt(xiH, XI_PRM_OUTPUT_DATA_BIT_DEPTH, 8);
It is also possible to use 16 bit data, but you may need to modify the code a bit for this.
Especially when data packing is enabled on the camera, the data needs to be unpacked before any other processing can occur.
// Exposure 10 ms
stat = xiSetParamInt(xiH, XI_PRM_EXPOSURE, 10000);
Depending on your specific camera model, you may want to set a different value for the best results.
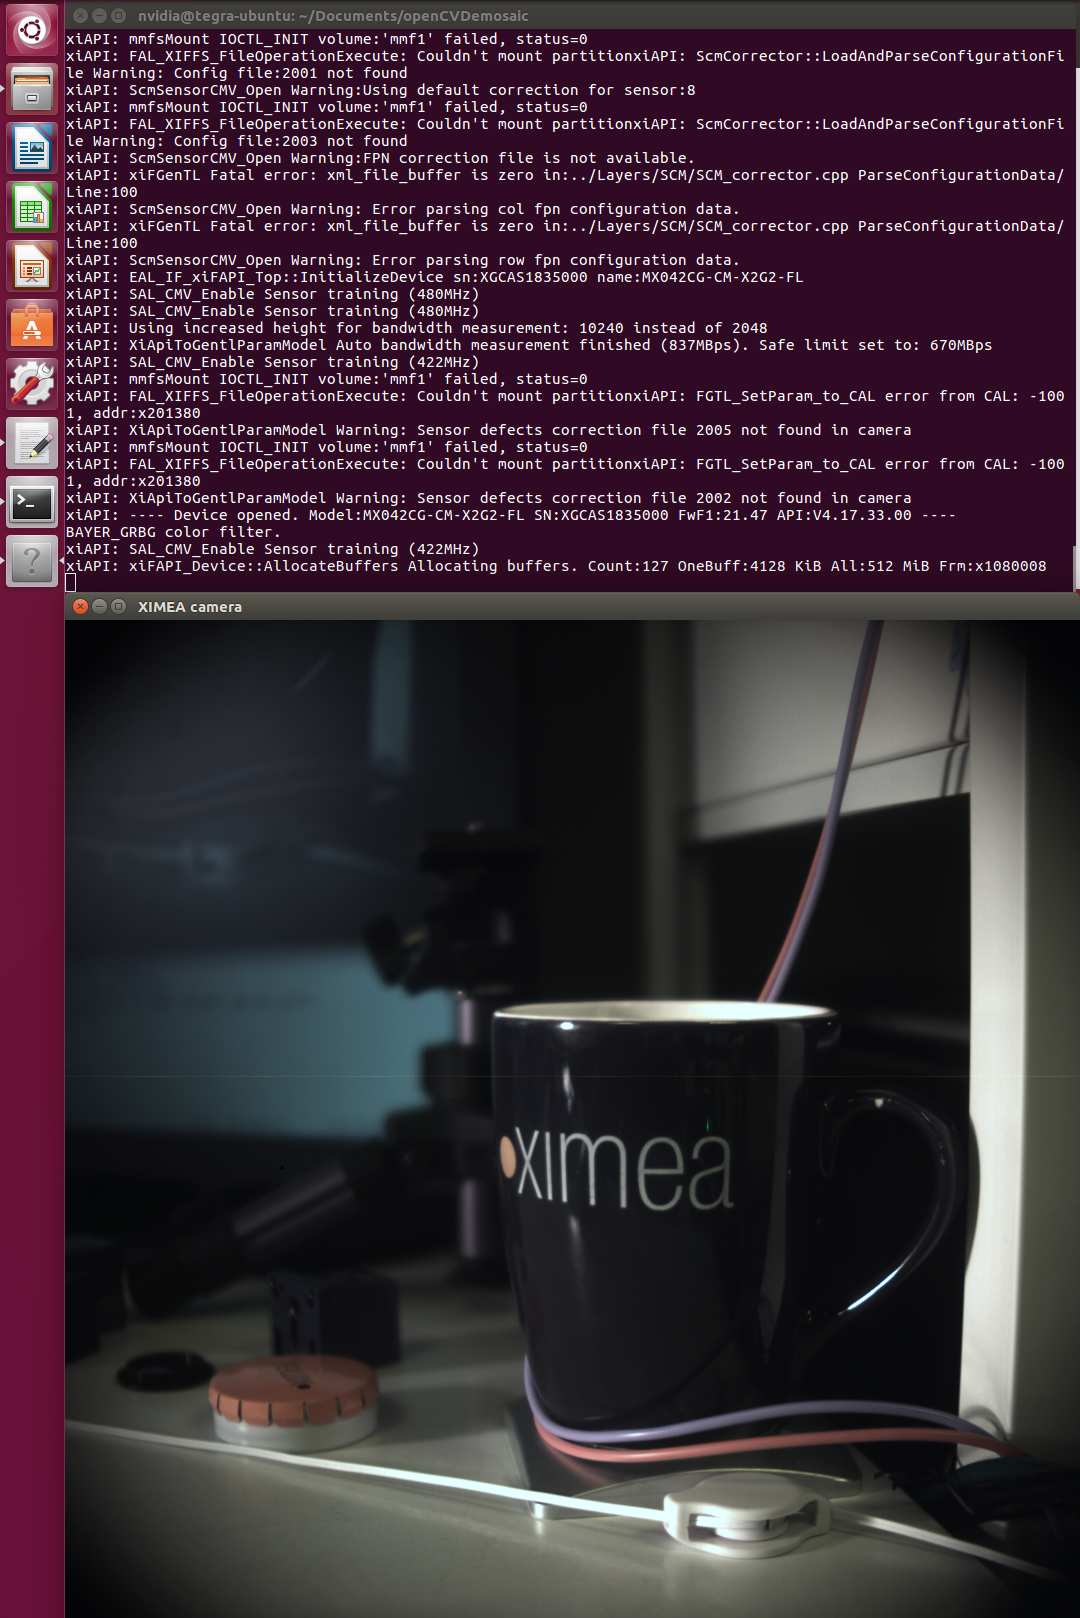
// Create a GUI window with OpenGL support
namedWindow("XIMEA camera", WINDOW_OPENGL);
resizeWindow("XIMEA camera", width/3, height/3);
This creates a window with OpenGL support.
OpenGL is required for maximum performance since OpenCV can internally utilize CUDA-OpenGL interoperability to render the result to the screen.
Window size is set to one third of the original image size to fit to screen.
It can be adjusted according to your preferences.
// Get host-pointer to image data
stat = xiGetImage(xiH, 5000, &image);
// Convert to device pointer
cudaHostGetDevicePointer(&imageGpu, image.bp, 0);
// Create GpuMat from the device pointer
cuda::GpuMat gpu_mat_raw(height, width, CV_8UC1, imageGpu);
The call to the XIMEA API will return a host-pointer(in CPU memory) that can be converted to a device-pointer(in GPU memory).
Because we are using zerocopy this is done without moving any actual data and therefore is really fast.
Afterward, we can use the device-pointer to create an OpenCV GPUMat.
// Demosaic raw bayer image to color image
cuda::demosaicing(gpu_mat_raw, gpu_mat_color, OCVbayer);
// Apply static white balance by multiplying the channels
cuda::multiply(gpu_mat_color,
    cv::Scalar(WB_BLUE, WB_GREEN, WB_RED), gpu_mat_color);
Using cuda::demosaicing we can convert the RAW bayer image to an RGB color image.
Afterward, the white balance is applied using a simple matrix-vector multiplication.
// Render image to the screen (using OpenGL)
imshow("XIMEA camera", gpu_mat_color);
waitKey(1);
Finally, the resulting image is rendered to the screen using OpenGL.
By default, VSync is enabled for all OpenGL windows on Linux4Tegra. This may have a negative effect on your framerate.
The attached example code can be built using just make (Makefile is included).
Starting the application will open a window showing the live color image from the camera for a few seconds.