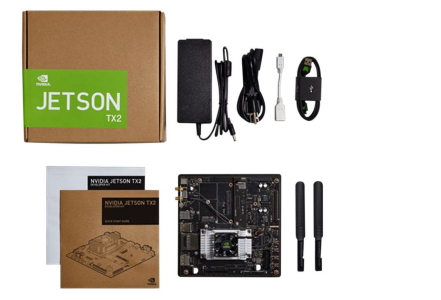
Fig.1. Jetson TX Developer Kit
The Jetson TX2 is one of the first GPU modules from NVIDIA which is still relevant due to several benefits to edge AI applications.
It is built around an NVIDIA Pascal™-family GPU and loaded with 8GB of memory and 59.7GB/s of memory bandwidth making it fast, power-efficient (7.5 Watt) embedded computing device.
The additional Developer Kit provides a fast way to test the device, but there are also various 3rd party carrier boards available.
This Dev kit supports NVIDIA Jetpack—a complete SDK that includes the BSP, libraries for deep learning, computer vision, GPU computing, multimedia processing, and much more.
While the Devkit is useful with various interfaces, design guides and is pre-flashed Linux, it was interesting to check other carrier boards as well.
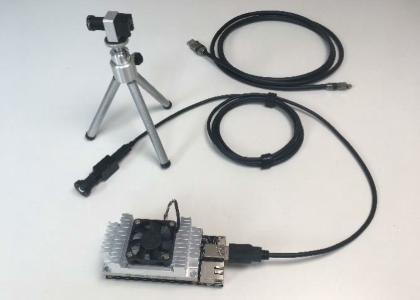
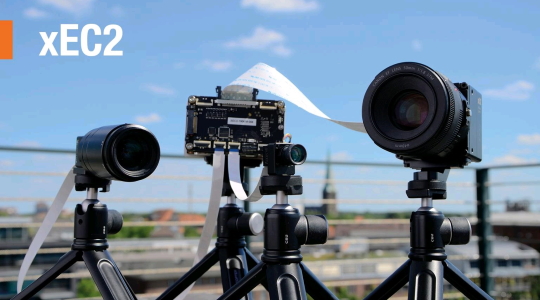
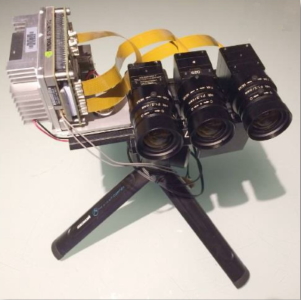
Below you can see the results of connecting XIMEA cameras to TX2 using 3rd party carrier boards as well as XIMEA's own xEC2.
Hardware components:
CamViewer is a demo application designed to acquire images from USB3/PCIe cameras connected to a computer and displaying them on the screen.
The application is used for demonstrations and internal purposes of MRTech SK.
Processing pipeline:
| Resolution | Bit rate | Frame rate | G2G Latency |
| Full frame 4896 x 3680 | 8 bit | 22 Fps | 160 ms |
| 2x2 binning 2448 x 1842 | 8 bit | 60 Fps | 90 ms |
| Resolution | Bit rate | Frame rate | G2G Latency |
| Full frame 4896 x 3680 | 8 bit | 10 Fps | 190 ms |
| 2x2 binning 2448 x 1842 | 8 bit | 30 Fps | 100 ms |
Note: The values are for both cameras.
Two XIMEA MU181CR-ON color cameras - Master-Slave configuration
Processing pipeline:
| Resolution | Bit rate | Frame rate |
| 2448 x 1840, 4.5MP | 12 bit | 30 Fps |
Note: Values per each camera.
Hardware components:
Dragonfly application was designed by MRTech SK to receive RAW images from one or more USB3/PCIe cameras and stream the processed images via the network to a remote computer.
The application can run on NVIDIA Jetson modules, embedded or desktop computers with NVIDIA GPU.
The application is currently being used in several projects in aerial, ground drones, on vehicles, as well as in medical devices.
Processing pipeline on Jetson:
Processing pipeline on the receiving station:
| Resolution | Bit rate | Frame rate | Processing time | G2G latency |
| Full frame 3.1 MP (2064 × 1544) | 8 bit | 60 Fps | 15 ms | < 60 ms (with 144 Hz monitor) |
Note: The values are for each camera.
1. Turn off the TX2 module and insert the MicroSD card into the dedicated slot of the xEC2 carrier board.
2. Next, format the MicroSD card.