![]()
VisionPro® has over the years been proven in more than 700,000 installations worldwide.
Cognex vision software is the industry benchmark for vision performance.
The power and versatility of Cognex software solutions extend to all industries for all applications: part location and robot guidance, part identification, inspection and gauging and dimensional measurement.
From flexible, easy-to-use interfaces to application-specific turnkey solutions to advanced programming environments.
The installation consists of two steps:
1) Install Cognex VisionPro software with licensing center and drivers.
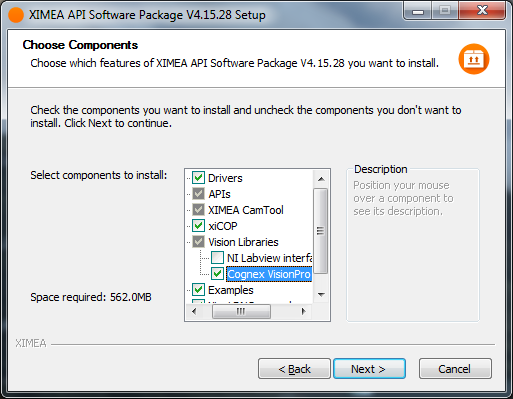
2) The camera adapter is part of the XIMEA Windows Software Package - select the Cognex VisionPro checkbox during the Choose Components step:
Please make sure that camera is correctly connected and visible in xiCOP.
To verify that XIMEA camera is detected properly by Cognex VisionPro,
use the following command in command line:
cogtool --print
Board 1 - Device: MQ013MG-E2
  Serial Number: 21300150
If no camera is printed in the command line, make sure that UAC
(User Account Control) is disabled or that you start all necessary
programs via Run as administrator.
Once the camera connection was verified, you can start Cognex VisionPro (Application Wizard, QuickBuild) and initialize the connected camera:
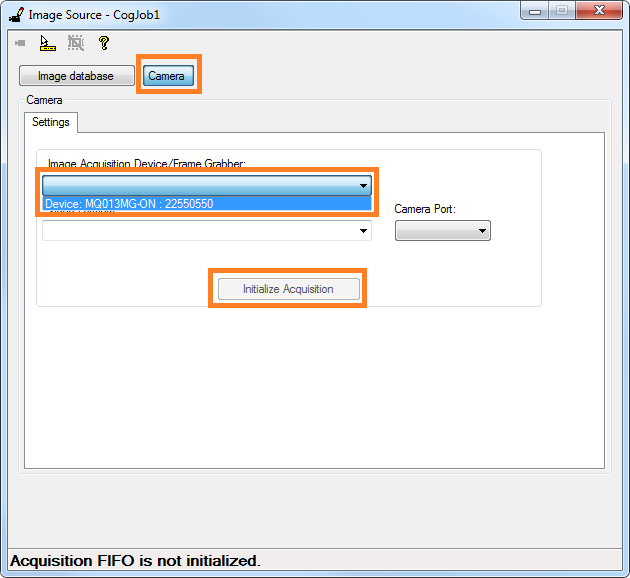
After clicking Initialize Acquisition button, the Image Source dialog box displays additional tabs and new settings are available in Settings tab. 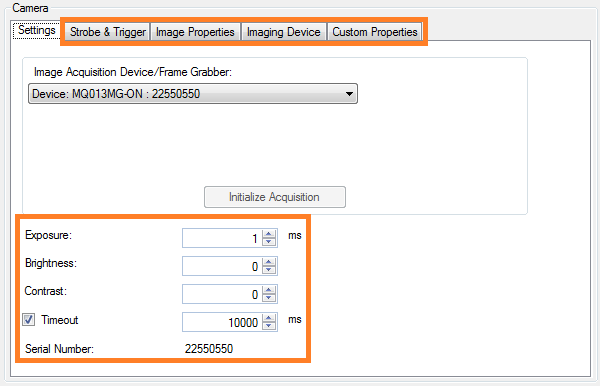
The Strobe & Trigger tab contains Trigger Mode settings. 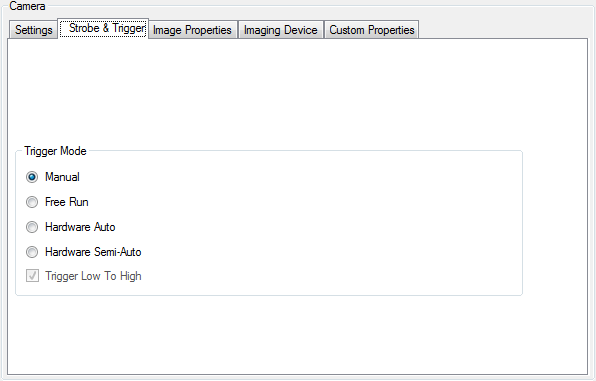
The Image Properties tab contains Region settings for specifying the region of interest (ROI) and list for Output Pixel Format. 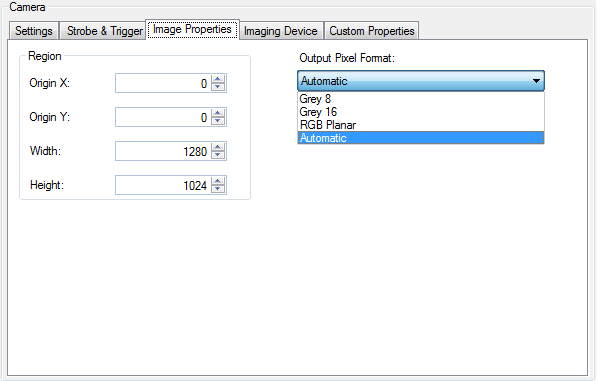
The Imaging device tab contains basic Camera Information (name and Serial Number) and Feature Access for accessing camera parameters. 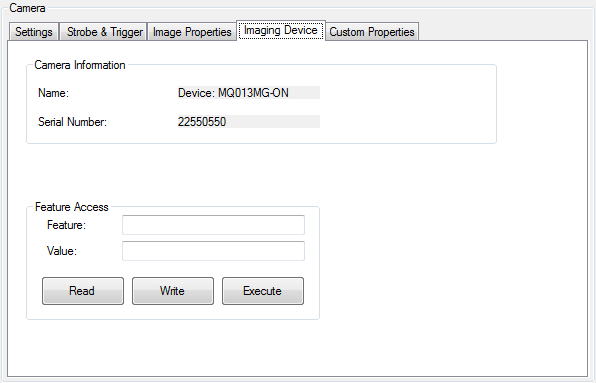
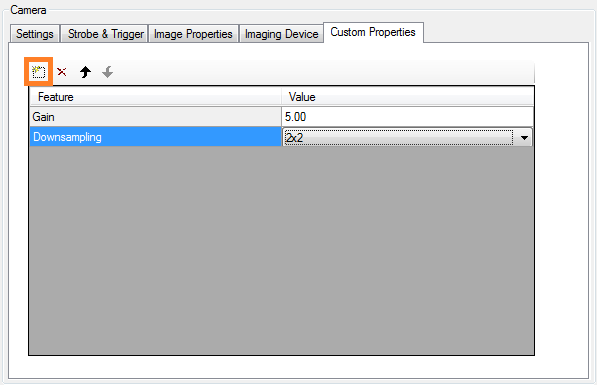
The Custom Properties tab contains a list, where additional camera features can be accessed and updated. To add new feature move mouse cursor to the upper left corner, click on the square symbol which is used for adding parameters to the list. The following figure shows two parameters: Gain (which is set to value 5) and Downsampling (which is set to value 2x2).